There’s a lot of advice floating around about how to do your makeup “right.” Most of it was written by someone who has never left the house in natural light. Makeup tips worth keeping are the ones that hold up in real life on real skin, in the morning, without a ring light.
What actually moves the needle isn’t the product, it’s the order, the tools, and knowing which rules were invented for editorial shoots and which ones translate. Beauty techniques for everyday wear look very different from what you see on a campaign, and once you understand that gap, everything clicks faster.
The problem is that most guides treat your face like a blank canvas and your routine like a one-size-fits-all formula. They skip the part that matters most: how skin texture, undertone, and lighting change everything. That’s what this post is actually about.
How to Build a Makeup Routine That Works on Real Skin
Most routines fail at the foundation step, literally. The instinct is to reach for more coverage when skin looks uneven, but layering too much product is what creates the cakey, settles-into-lines situation everyone’s trying to avoid.
Start With Skin, Not Product
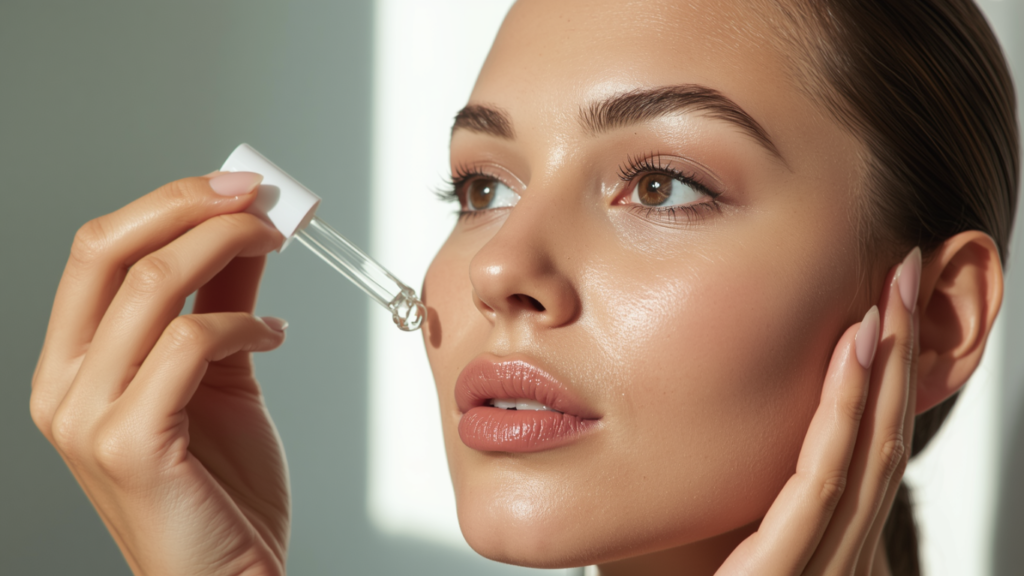
Before anything touches your face, your skin needs to be genuinely hydrated, not just moisturized. There’s a difference. A lightweight hyaluronic serum under your moisturizer gives the base something to grip. I’ve worn full coverage foundation on dry skin, and it looks worse by noon every time. Fix the canvas first.
Match Your Formula to Your Skin Type
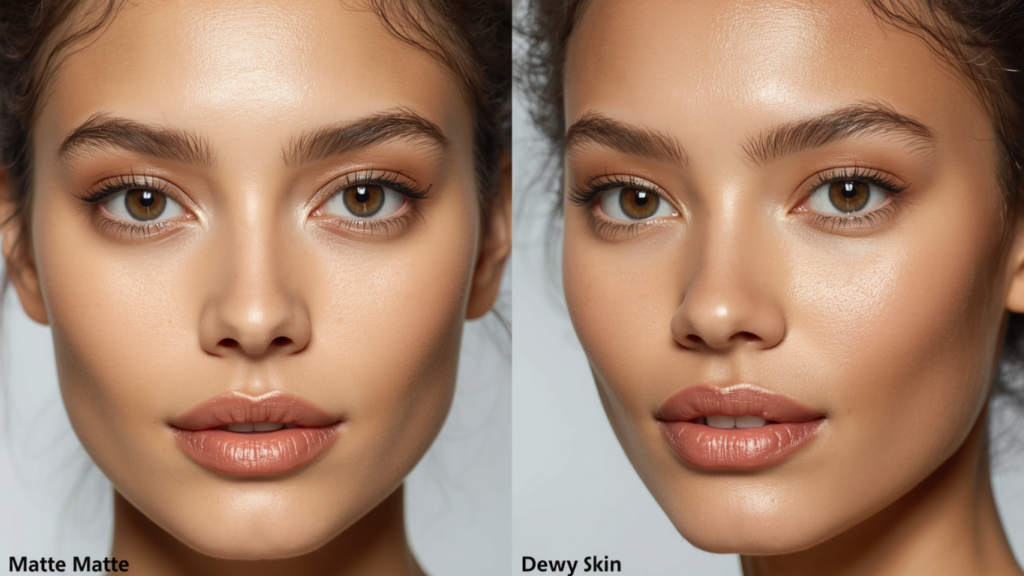
If you have oily skin, a water-based foundation with a powder setting step will last longer than a “long-wear” formula that’s really just a matte version of something heavy. Dry skin needs something with a skin-like finish, not a full matte. The finish matters as much as the coverage level, maybe more.
Primer Is Optional (Depending on What You’re Doing)
For everyday makeup looks, a moisturizer with a slightly tacky finish does the job of a primer. You only need a dedicated primer if you’re using something specific, like a blurring pore product or an SPF with a greasy finish that needs smoothing out. Don’t buy a primer because a brand told you to.
This is where most people waste money before they even reach the concealer.
The Eye Makeup Tips That Make the Biggest Difference
Eye looks are where tutorials go off the rails because they assume everyone has the same eye shape, lid space, and skill level. Most people don’t need a cut crease. Most people need to know where to actually place the shadow so it opens the eye rather than closing it off.
Placement Over Pigment
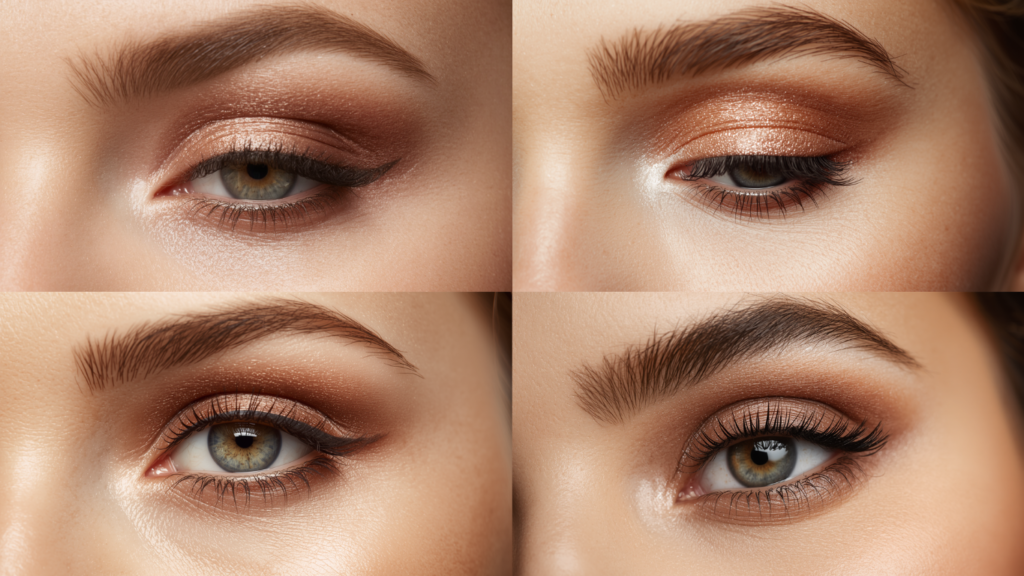
The mistake I see constantly: applying shadow all over the lid in one flat wash. What creates dimension is placement at the outer corner and the crease, not coverage across the whole eye. Even a single matte brown in an “e” shape around the outer two-thirds of the eye is more interesting than a sparkly lid going nowhere.
Mascara First, Then Touch Up Concealer
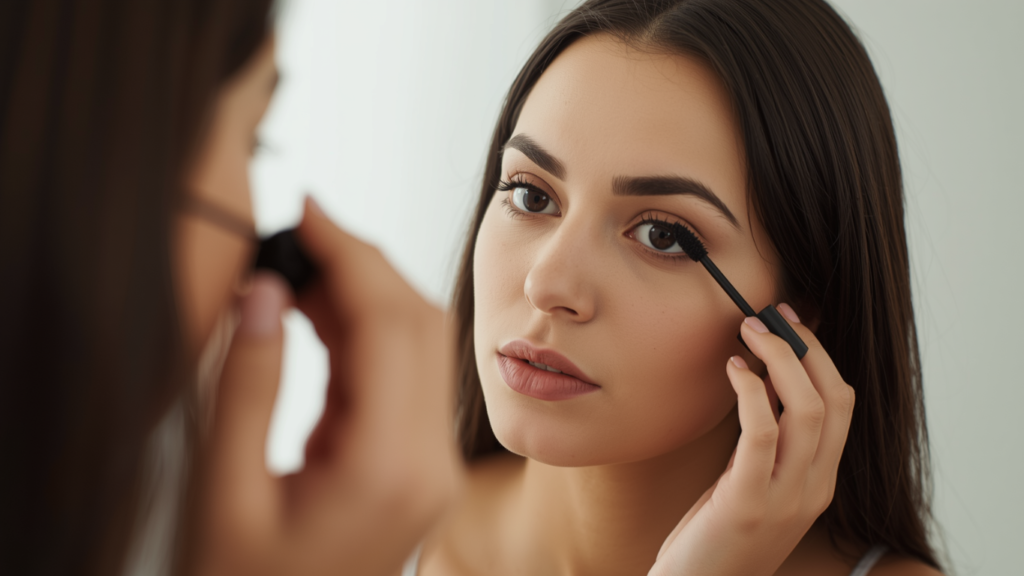
Apply mascara before your under-eye concealer is fully set, and you’ll smudge everything. But if you apply concealer last, after mascara, you can clean up any fallout with a small brush, and the final look is cleaner. It’s a 30-second reorder that changes things.
Liner Doesn’t Have to Be Liner
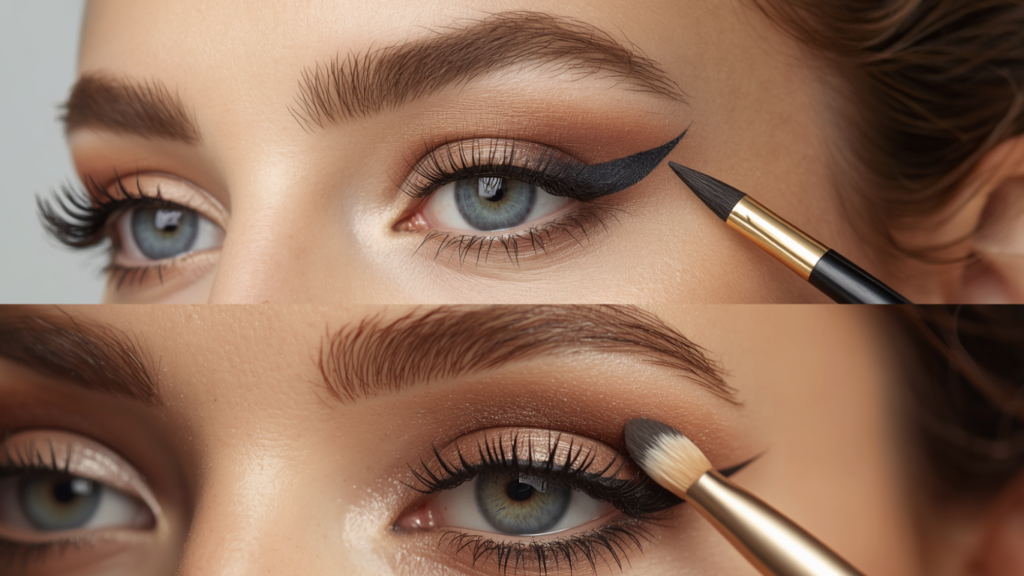
A flat eyeliner brush and dark eyeshadow do a softer, more wearable version of any liner look. The hard edge of pencil and liquid liner reads heavy in daylight. The shadow version smudges in a way that feels like skin, not a line drawn on.
A good eye makeup routine doesn’t need 12 products; it needs three placed correctly.
Contouring and Blush Tips That Don’t Require a Tutorial to Understand
Contouring got overcomplicated somewhere between 2015 and now, and most people abandoned it entirely. That’s fair. But there’s a version that’s fast, subtle, and actually useful.
Forget the Nose Contour Unless You’re Being Photographed
Nose contour looks different in photos than in person. In person, it reads as brown streaks down your nose. Unless you’re shooting content, skip it. Spend that time on blush placement instead; it does more for the face in real life.
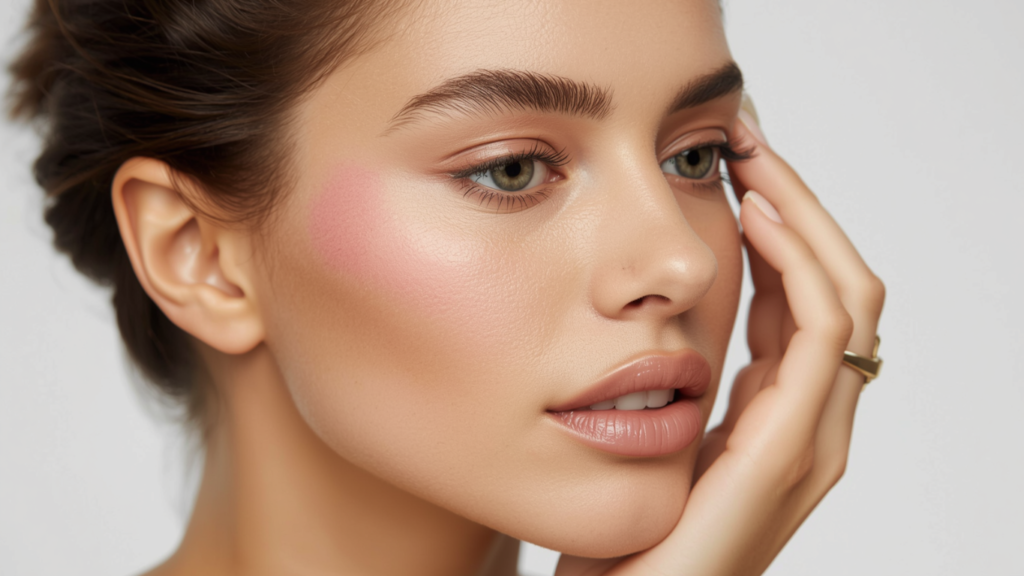
Blush Goes Higher Than You Think
The classic “apples of the cheeks” instruction is outdated. Contemporary blush placement that reads fresh and awake sits higher on the cheekbone, slightly toward the temple. Some of the best looks I’ve seen sweep blush from mid-cheek up and slightly across the nose. It’s not for everyone, but it’s worth testing once.
Contour Should Disappear When You’re Done
If you can still see where you blended, it’s not blended. A clean brush or damp sponge over a powder contour should leave no visible edge. The whole point is that someone looks at you and thinks your face has good structure, not that they can see where the shadow starts.
This is the makeup technique that looks the most natural when it’s done right and the most theatrical when it isn’t.
Lip Makeup Tips That Don’t Dry Out Your Mouth
Lips are probably the most underprepared part of most routines. You can’t apply a good lip color on cracked or dehydrated lips and expect it to stay or look clean. The prep step here is not optional.
Exfoliate, But Not Every Day
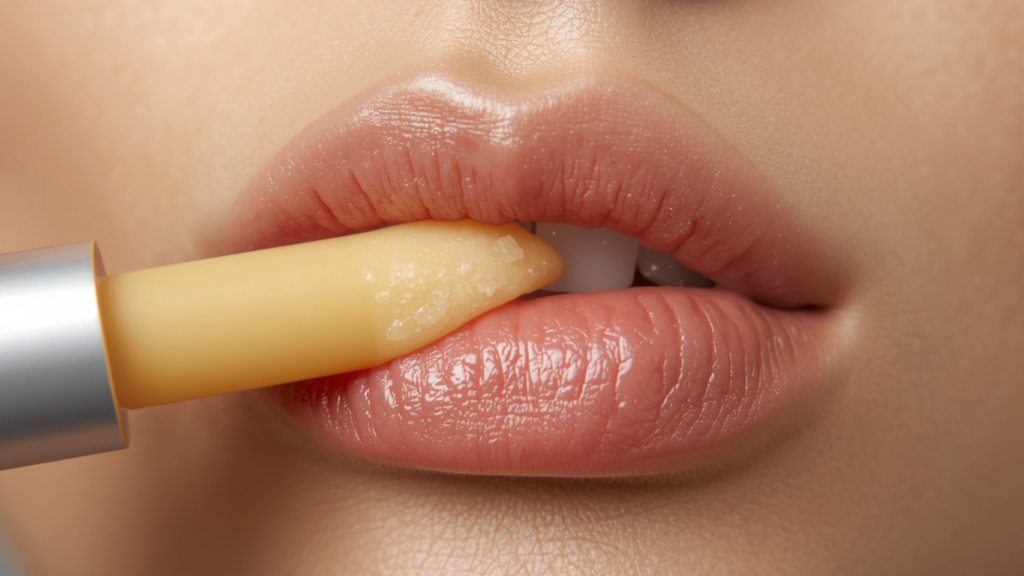
A lip scrub once or twice a week is enough. Doing it daily strips the skin and makes lips more reactive, not less. Between scrubs, a layer of plain lip balm at night handles most of the maintenance. This sounds boring, but it’s the difference between a matte lip that lasts and one that clings to dry patches.
Liner Is Mostly About Longevity, Not Shape
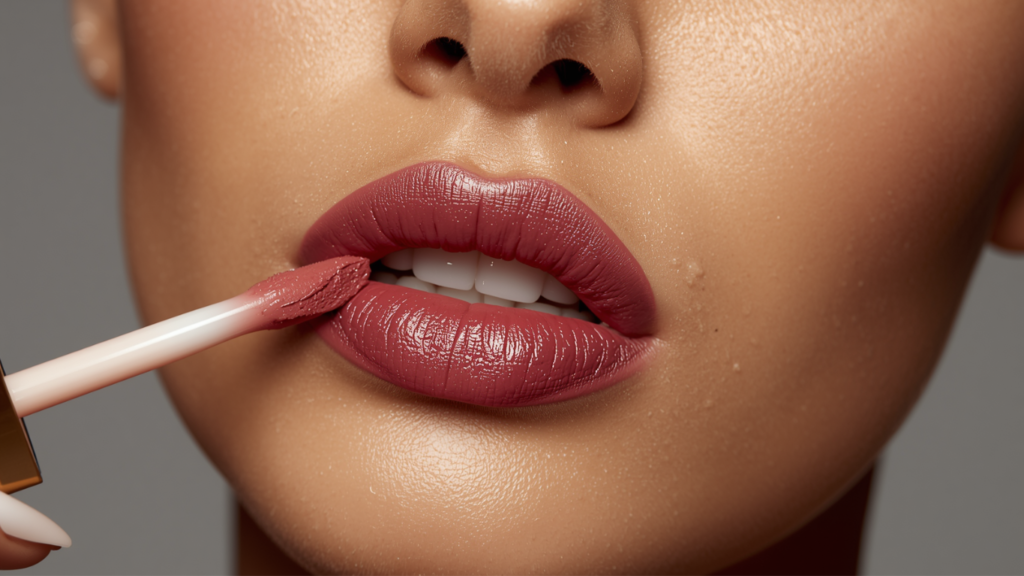
A common misconception: lip liner is for contouring the lips. Actually, its job is to keep color from bleeding and to help the shade last. Using a liner close to your natural lip color, applied all over as a base, makes almost any lip color last longer. You don’t need to overdraw unless that’s a deliberate choice.
Matte Lasts, Gloss Looks Alive
If longevity is the priority, matte formulas are the answer. If you want lips that look hydrated and three-dimensional, gloss does something matte can’t. Some of the best lip combinations I’ve tried layer a matte liner or stain underneath with a clear gloss on top. The color stays, the finish moves.
The Makeup Setting Tips Nobody Talks About Enough
Setting your makeup isn’t just a spray-and-go step. Done right, it’s the difference between a look that’s still there at 6 pm and one that’s shifted into your pores by noon.
Setting Powder vs. Setting Spray: You Probably Need Both
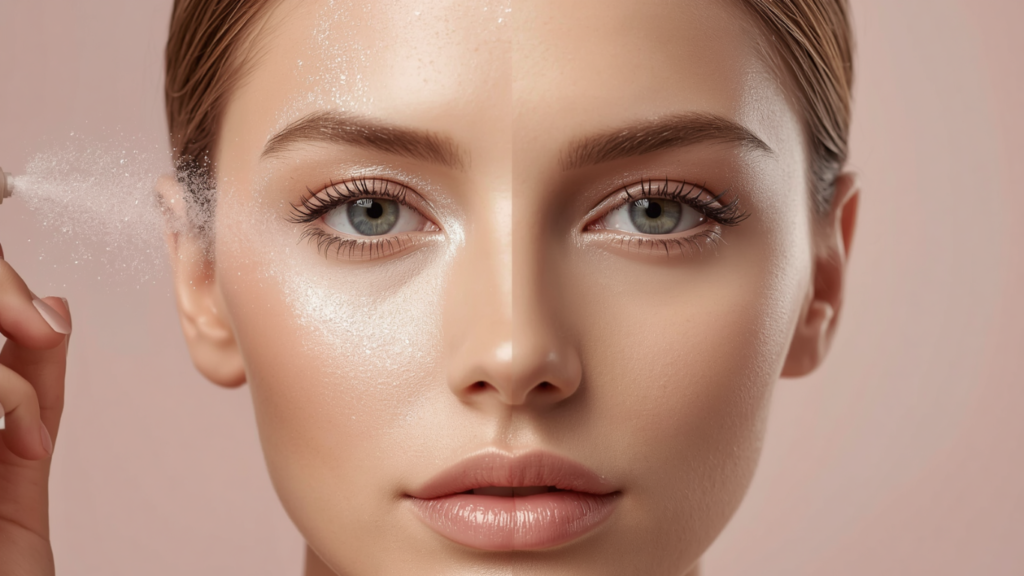
Powder sets oil and smooths texture. Setting spray fuses everything and restores the skin-like finish that powder can flatten. Using powder alone can look dry and cakey by the end of the day. Using spray alone doesn’t control oil well enough if you have that concern. The combination is the answer.
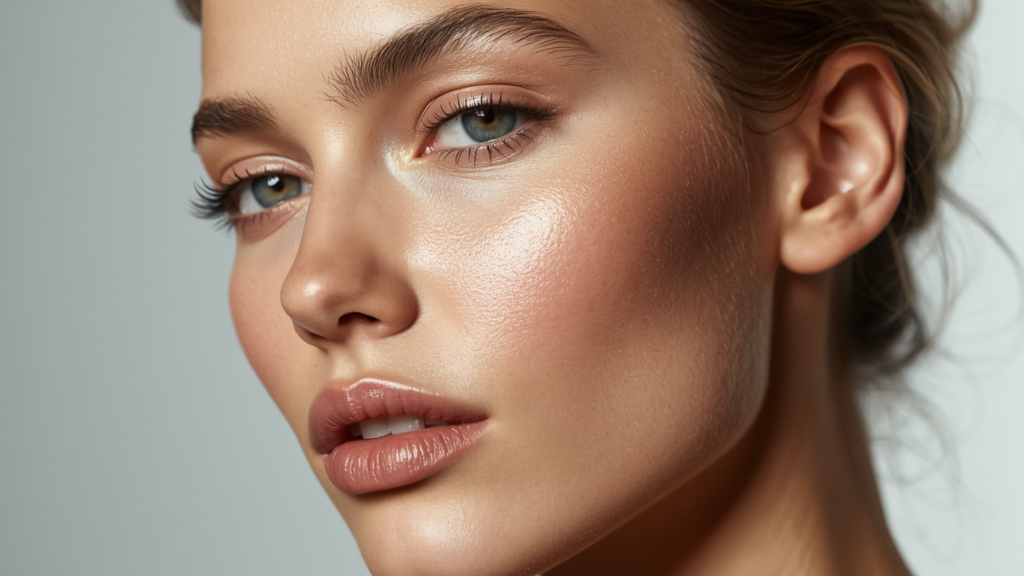
Where You Set Matters
The T-zone needs powder. The outer face, cheekbones, and anywhere you want to glow often look better with just a light setting spray or nothing at all. Applying powder everywhere is one of those habits that seems thorough but actually flattens the dimension you just spent time creating.
Don’t Skip the Inner Corner

The inner corner of the eye gets oily quickly, causing concealer to crease early. A tiny press of translucent powder in that specific area significantly extends the wear of your under-eye. I didn’t believe this until I started doing it consistently. The difference is real.
A solid makeup setting routine makes everything you applied beforehand look intentional rather than worn-in.
Which Makeup Is Right for You?
Getting makeup right isn’t about having more products or a longer routine. It’s about understanding what each step is actually doing, so you can stop doing things that aren’t working.
The best makeup techniques are usually quieter than you think, less layering, better placement, and a few small reorders that change how everything sits by the end of the day.
Once you find what actually suits your skin and your life, the whole process gets shorter and the results get more consistent. What’s the one step in your routine you’d never cut? Save this for when you’re ready to rethink yours.